
User Guide
How to insert images
When you want to insert an image or a PDF file on your website, you may first need to upload the file to the system. You can do it in the Media perspective of C1 CMS. You can create the folders you need to organize your images and other files.
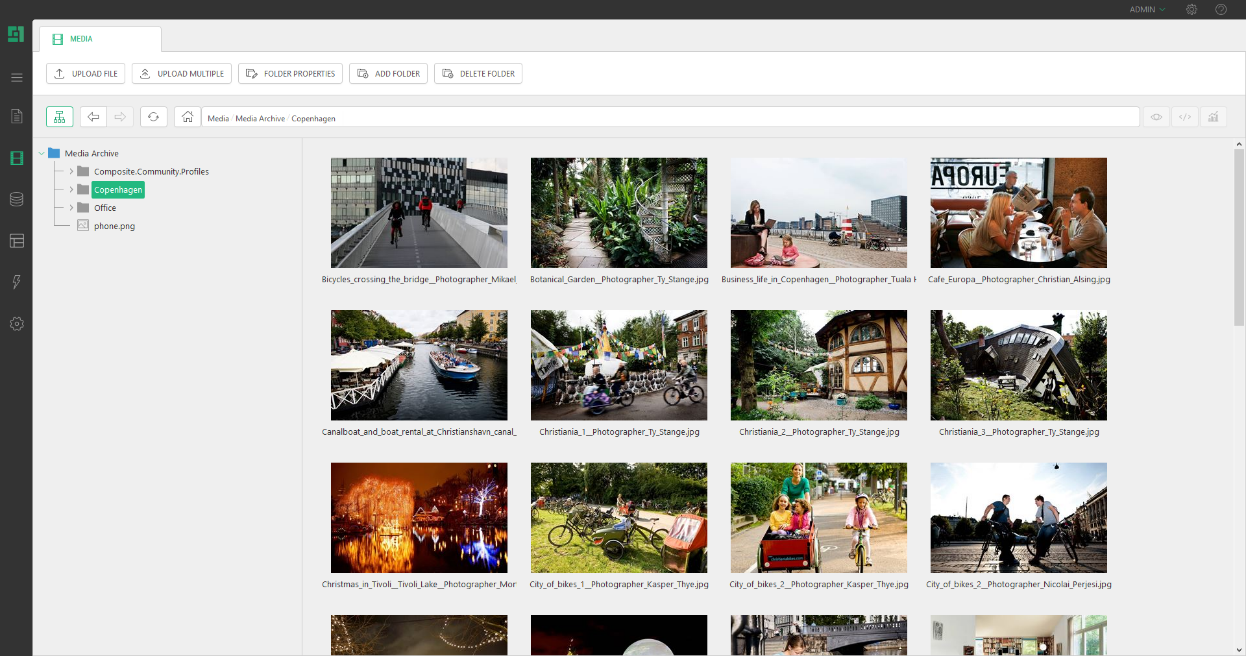
Figure 42: Media perspective
Apart from uploading images and other media files to the Media perspective, you can also download them. For example, if you want to edit a media file locally, on your PC, you could download it, edit it and then replace the older version of the file in the Media perspective with your modified version on your PC.
How to upload images to the Media archive
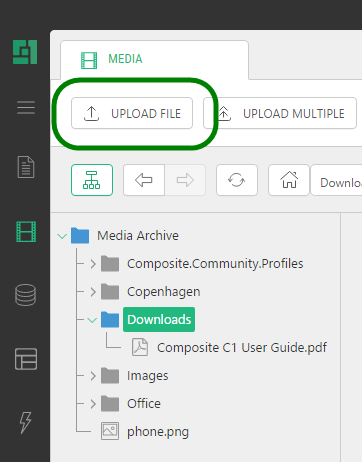
How to upload files to the media archive:
- Select the folder where you want to upload a new file to.
- Click Upload File on the toolbar.
Figure 43: Uploading a media file
- Select the file you want to upload.
Figure 44: Selecting a file to upload
- Click Finish.
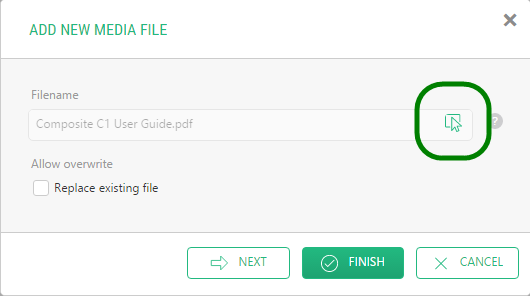
The file is now uploaded to the Media archive.
Pease note that as to images, you can also upload them while inserting them on a page.
How to insert images on a page
Images can be inserted on the Content tab of a page. Click Insert and then click Image.
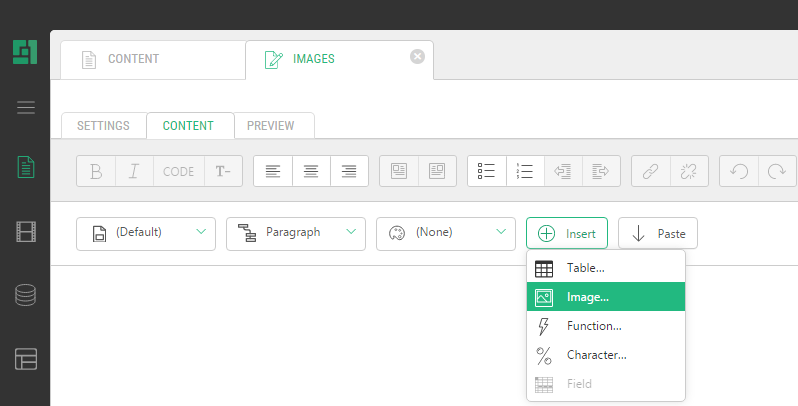
Figure 45: Inserting an image
How to insert images on a page:
- Click Insert | Image on the menu. This will open the Insert Image window, and automatically, the Select Image window.
- In the Select Image window, do one of the following.
- Select a folder and click Upload File if you want to insert an image from your local drive. The image will be auto-selected once done uploading.
Figure 46: Uploading an image while inserting it
- Select the existing image.
Figure 47: Inserting an existing image
- Select a folder and click Upload File if you want to insert an image from your local drive. The image will be auto-selected once done uploading.
- Click OK in the Select Image window. The path to the image file in the Media Archive will appear in the Insert Image window.
- Write text for the alt and title attributes of the image in the Alternate text and Title text fields respectively.
- Click OK in the Insert Image window. The image will appear on the page.
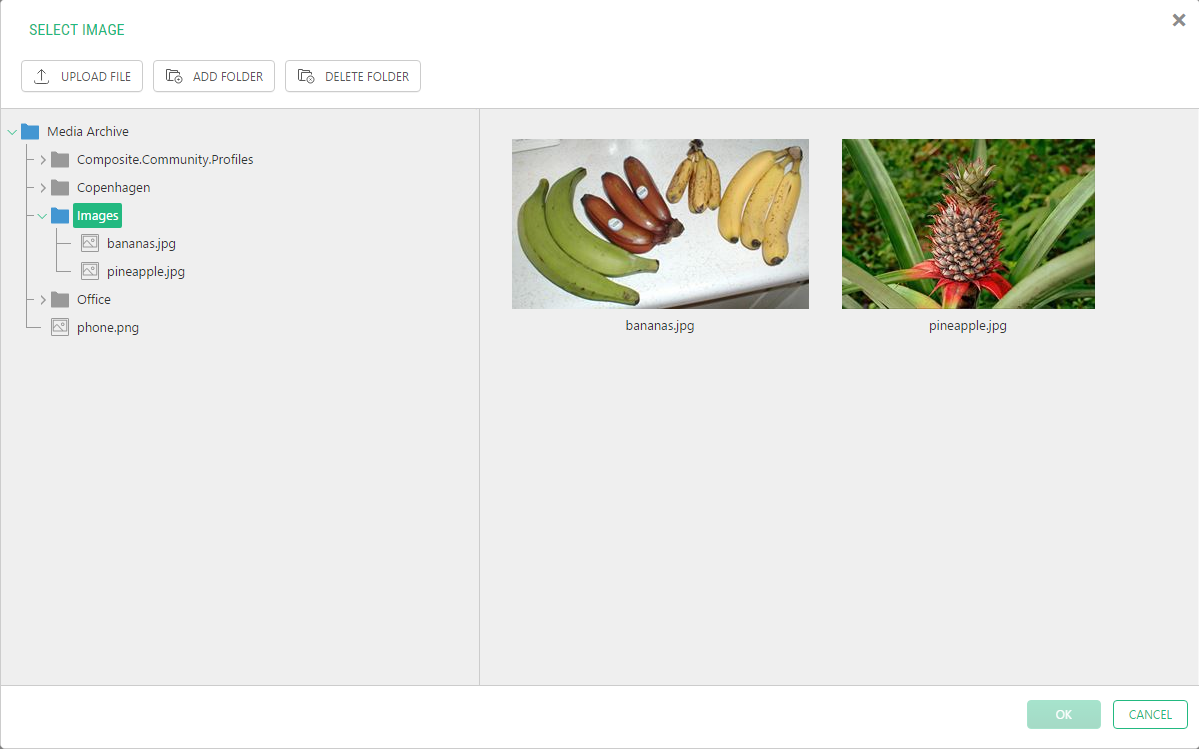
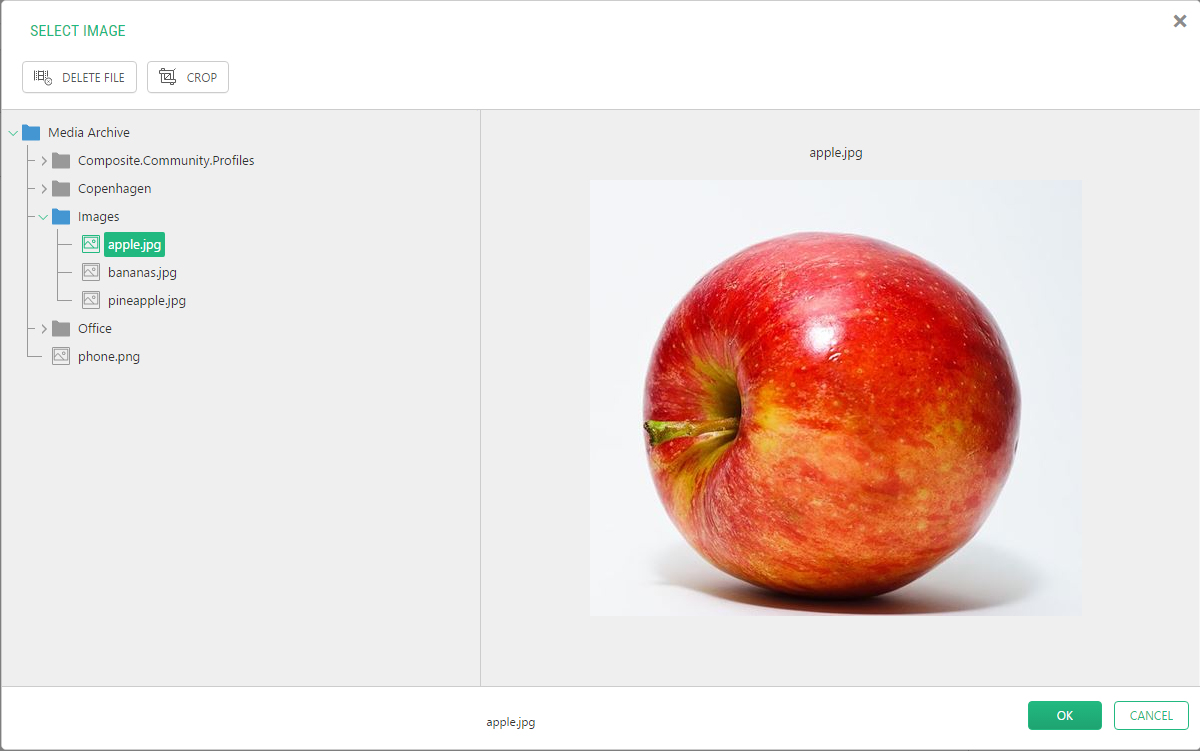
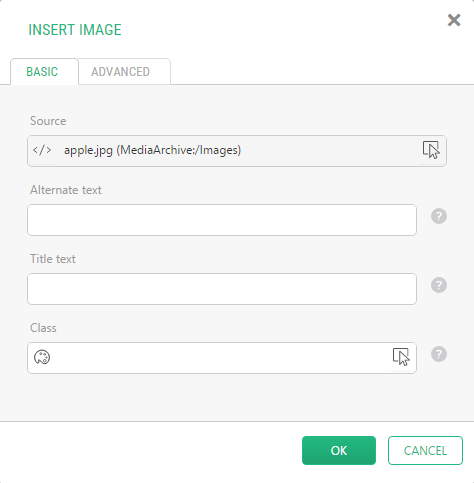
Figure 48: The image selected
You can also provide an external URL to an image ("http://www.contoso.com/image.png") in the Insert Image window.
On the Advanced tab, you can specify other parameters on the inserted image such as "maximum width" and "maximum height".
How to set the image’s Alt and Title text
A single image on a page
When inserting an image on a page, you can control the image Title and Alt text in the Alternate text and Title text fields in the Image Properties window.
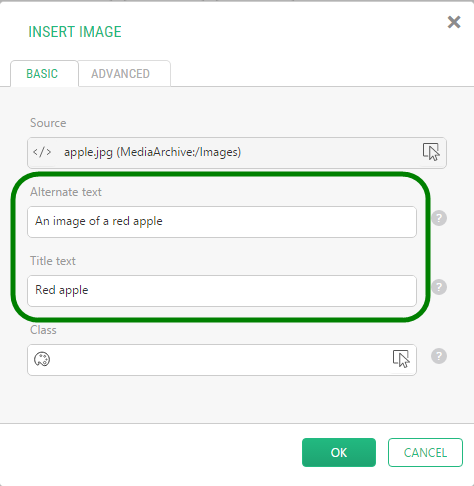
Figure 49: Alt and Title text of an image
Images in a gallery
If the images on a page are displayed in a gallery with one of the Image Gallery packages, their titles and descriptions are normally used for the Alt and Title text.
You can set or change these titles and descriptions in the Media Archive.
- From the "Media" perspective, select an image and click "File Properties" on the tool bar.
- In the "Title" and "Description" fields, specify the title's text and the image's description.
- Click "Save".
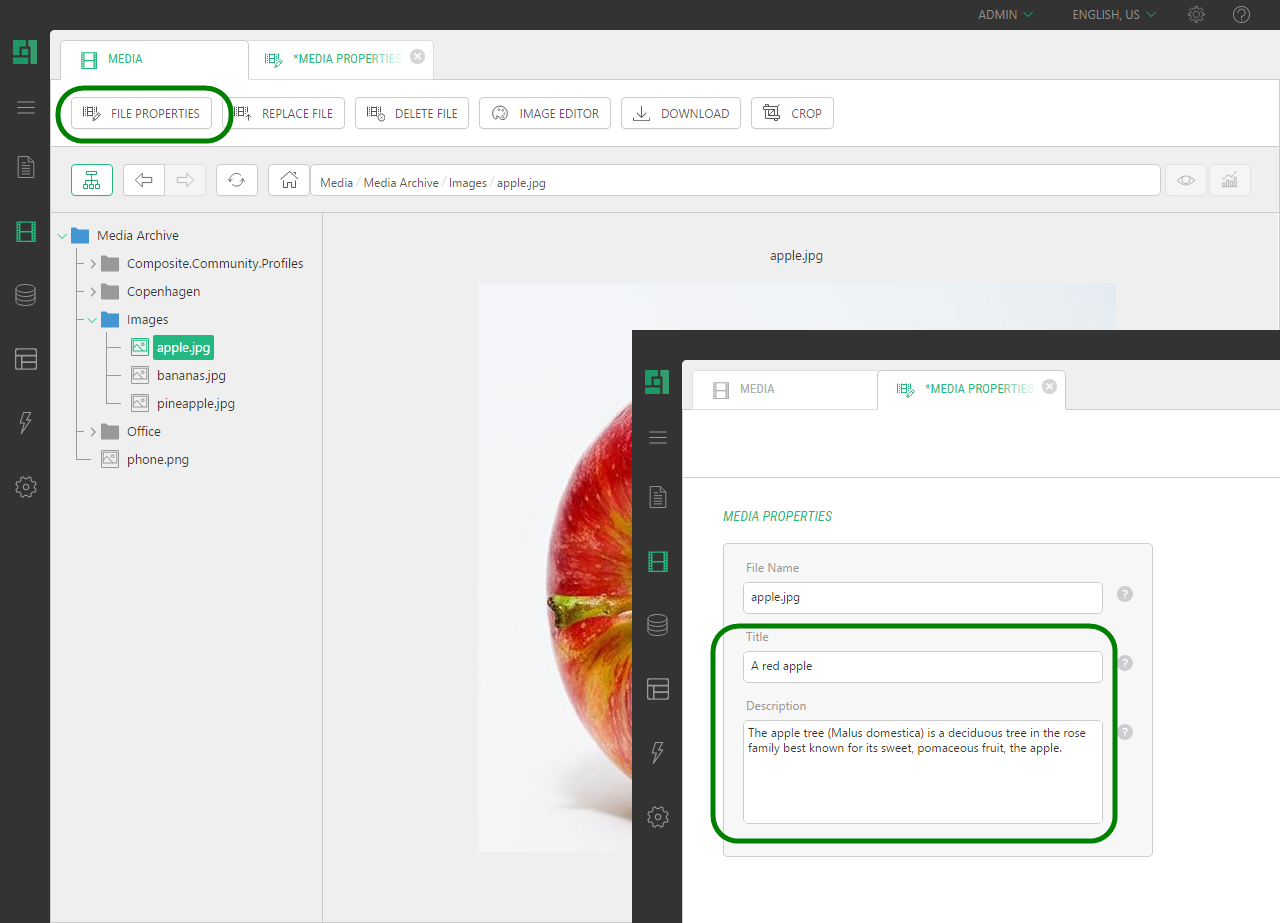
Figure 50: Title and description of an image
Changing these properties from the "Media" perspective will update automatically generated image views.
How to download images from the Media archive
You can download images and other types of files from the Media perspective, for example, for editing them locally on your PC and upload them back replacing their outdated versions.
How to download files from the media archive:
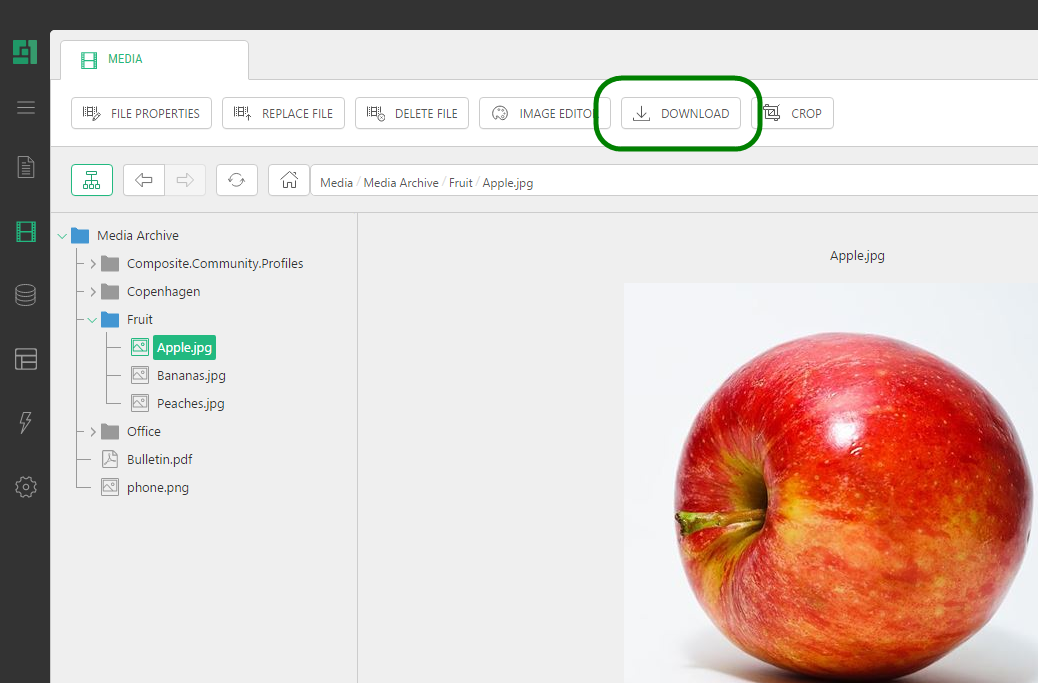
- In the Media perspective, select the file you want to download.
- Click Download in the toolbar.
Figure 51: Downloading a media file
- In the dialogs that appear select the Save option (if needed) and browse to the folder on your PC where you want to download the file.
- Click OK.
Now you can work with the downloaded file on your PC.
See the next section to learn how to replace files in the media archive.
How to replace images in the Media archive
Once you have finished editing a media file, for example, an image, upload it back to the Media perspective replacing its outdated version there.
How to replace files in the media archive:
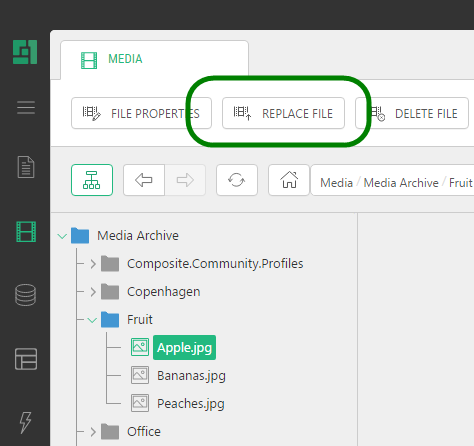
- In the Media perspective, select the file you want to replace.
- Click Replace File in the toolbar.
Figure 52: Replacing a media file
- In the dialog that appears, select the file you want to replace the existing file in the Media perspective.
- Click OK.
Now the file has been replaced with its latest version.