
User Guide
How to use C1 CMS
In this section we will examine how to create new pages, insert content on the pages and how to publish them.
How to create a new page:
- Select a page in the page structure.
- Click Add Page on the toolbar.
- Fill out the requested fields and click Finish.
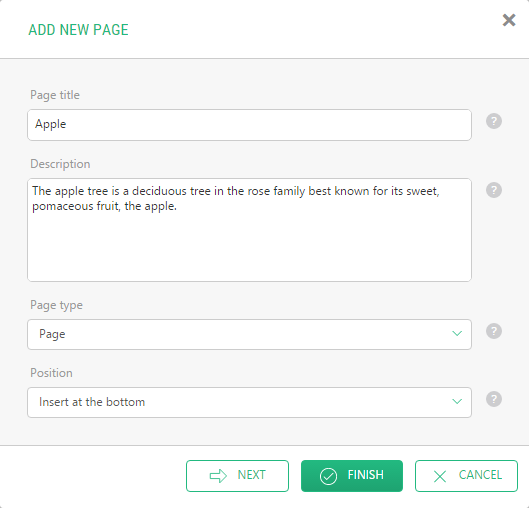
Figure 14: Creating a page
The new page is now created and content can be inserted.
The new page can have 3 or 4 page tabs and a variable number of content areas. The structure on the page depends on the template it is based on.
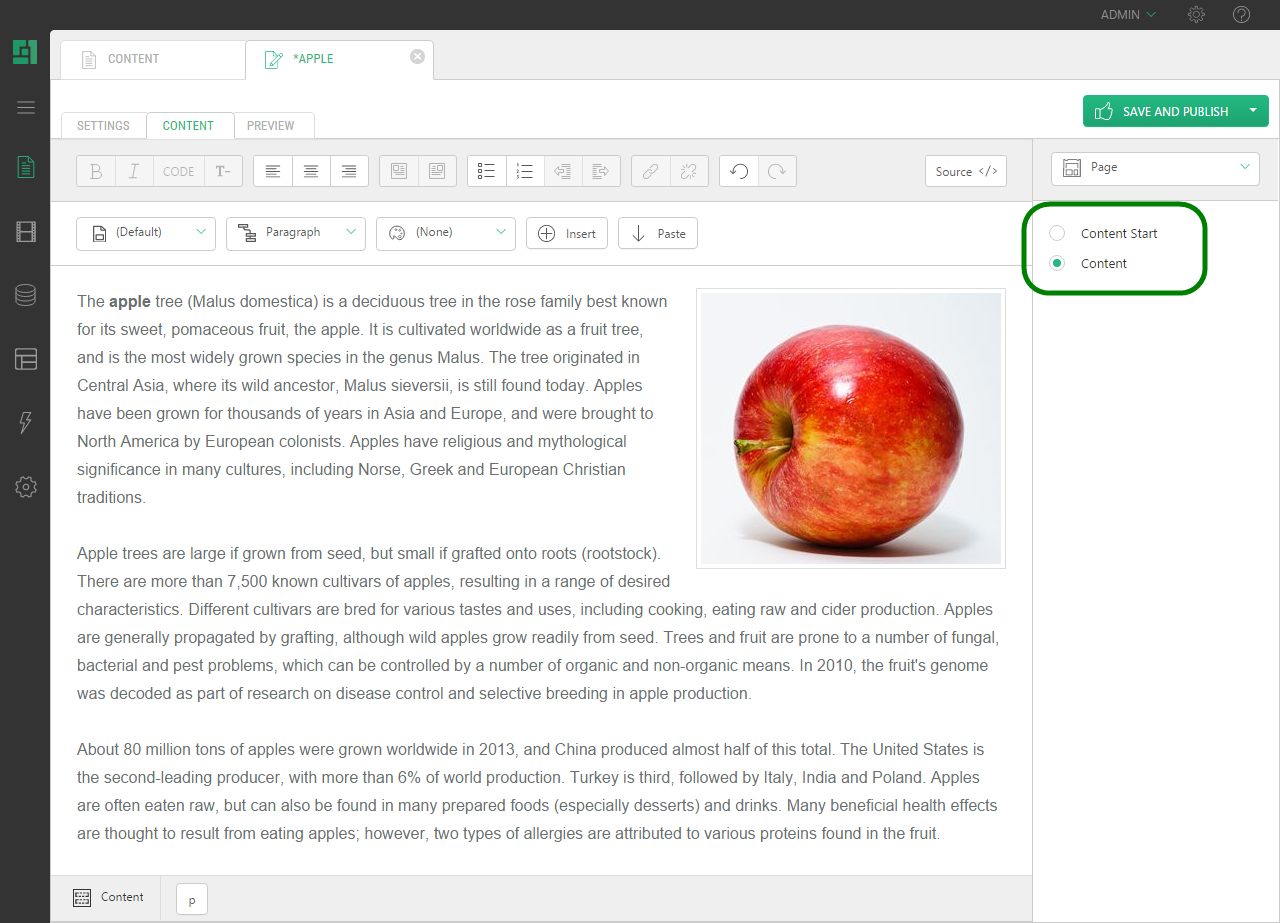
Figure 15: Selecting a template and a content area
If a page has more than one content area, users can switch between these areas from the selector on the right side under the Content tab. It is easy to switch between the different areas, and each content area has the same editorial possibilities.
Inserting content on a page (Editing a page)
Content on pages is inserted on the Content tab. The Content tab contains an HMTL editor which offers you many editorial possibilities and can be viewed upon as a small text processing tool. There are a number of opportunities for text editing, insertion of images, links, tables and so on. To edit content on a page follow these steps.
How to insert content on a page:
- Select a page in the page structure.
- Click Edit Page on the toolbar.
- On the Content tab, use the HTML editor to insert or edit your content.
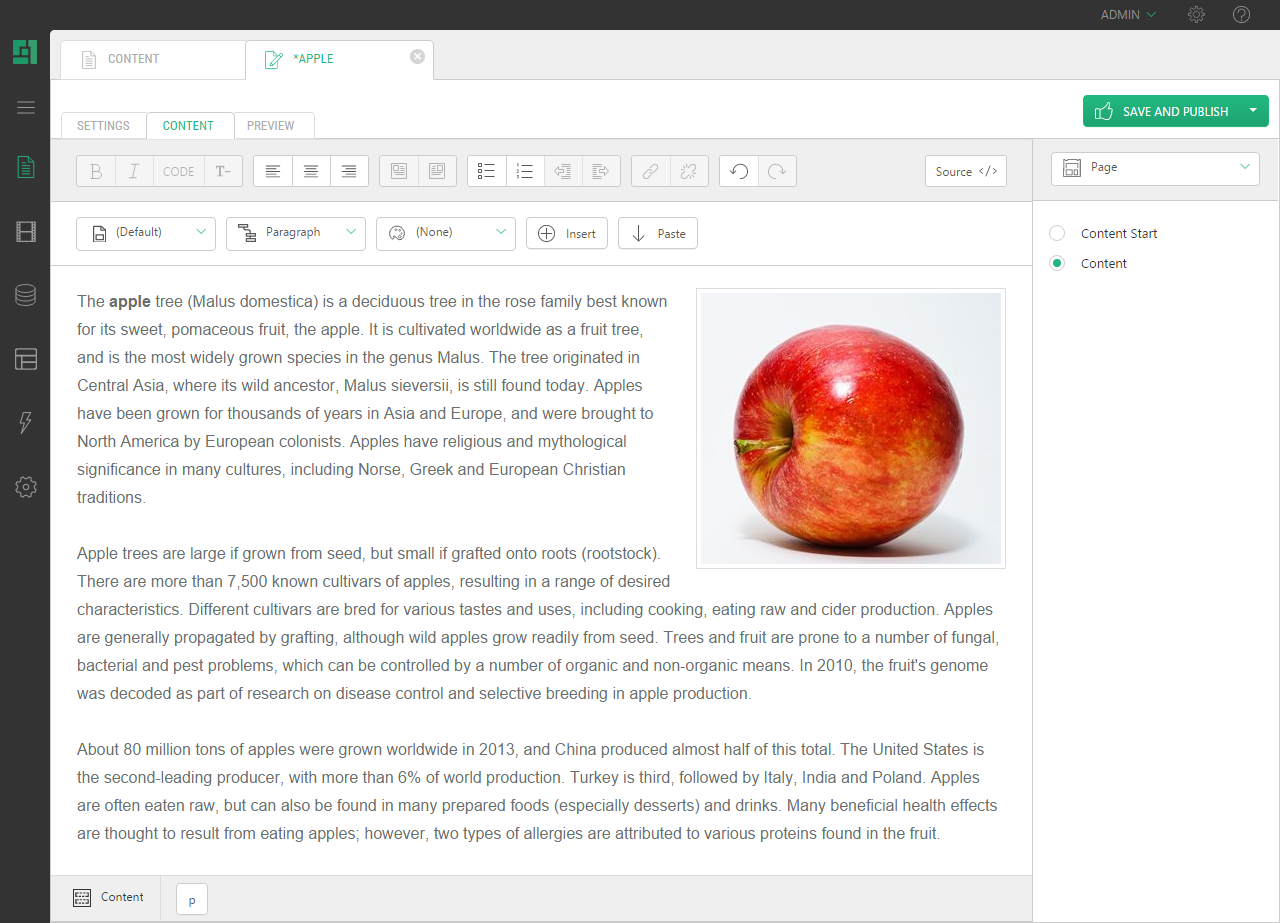
Figure 16: Editing a page
NOTE: If the template the page is based on has multiple content areas, you can switch between the content areas on the right.
Starting from version 3.1, C1 CMS makes use of automatic spell-checking in content editors and most data fields in the CMS Console.
Figure 17: Misspelled words are underlined
This feature is only available in Firefox. (C1 CMS version 4.0 or later can also use the built-in spell-checker in Internet Explorer 10.)
As to Firefox, you should make sure to have a dictionary installed in Firefox to match the language of your CMS Console. For example, for English US you need an English / United States dictionary.
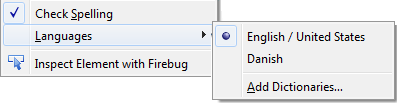
Figure 18: A matching dictionary is pre-selected
When you switch to another language on your website, the dictionary is automatically switched, too, provided it has been already installed.
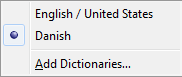
Figure 19: The dictionary switched to match the website’s language
If the word is highlighted as misspelled, you can right click it to see spelling suggestions in the context menu.
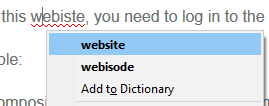
Figure 20: Spelling suggestions
NOTE: In Visual Editor, you should press SHIFT when right-clicking (SHIFT + right-click) to get spelling suggestions in the Firefox's menu. Otherwise, the editor's context menu will pop up.
Spell checking is enabled on most data fields where it makes sense. Spell-checking on fields like a type name / namespace or an URL title is disabled.
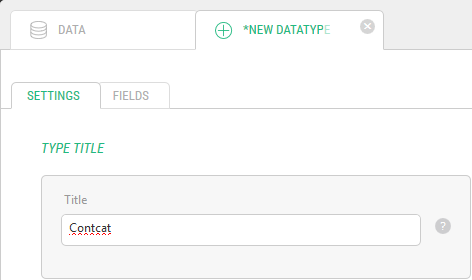
Figure 21: Spell-checked only where it makes sense
How to insert text from Word or as plain text
Text from Microsoft Word can be inserted on a page keeping basic formatting such as headings, lists etc. However, text from Word should always be "cleaned" first. C1 CMS does it automatically when you simply paste it on a page.
How to insert text from word:
- In your Word document, copy the excerpt you want to insert on a page (Ctrl+C).
- On a page opened in the editor, select where you want the excerpt to appear.
- Press Ctrl+V.
If you want the text to be cleaned completely, you should paste it as simple text instead. When text is inserted in this way, all formatting is removed completely.
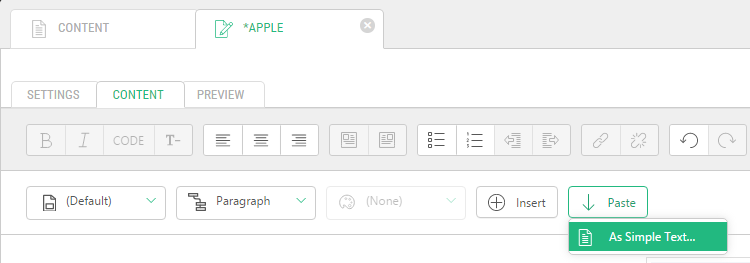
How to insert as simple text
- On the page's menu, click Paste | As Simple Text.
Figure 22: Pasting as simple text
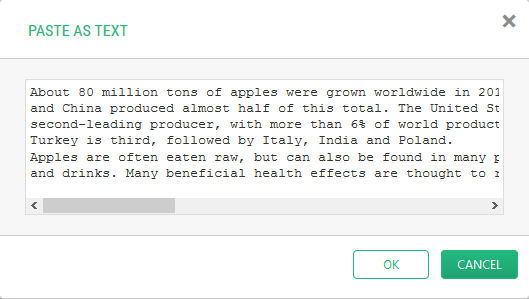
- In the window that appears, paste the copied text.
Figure 23: Past As Text window
- Click OK.
In C1 CMS v.4.0 or later, along with the Style selector and Class selector, you can also use the Block selector to format the content of a page.
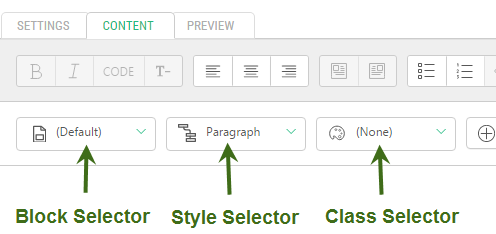
Figure 24: Selectors in Content Editor
The Block selector allows you to apply one formatting style to a few block elements.
For example, if you want to split the content in a few paragraphs into 2 or more columns, you can apply the 2 column:
Figure 25: Content before applying a block style
- Select the paragraphs you want to format via the Block selector.
- From the Block selector, select “2 columns”.
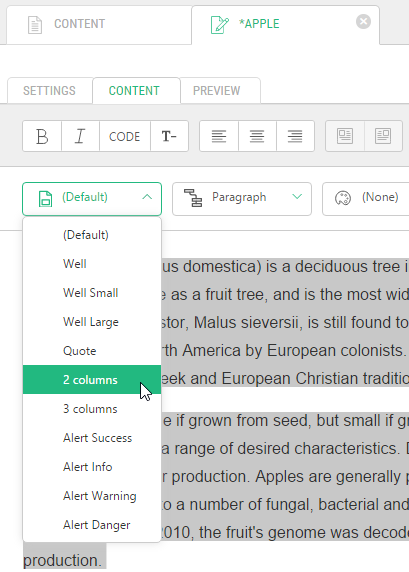
Figure 26: Applying the 2 columns style
The selected text will now be placed in two columns.
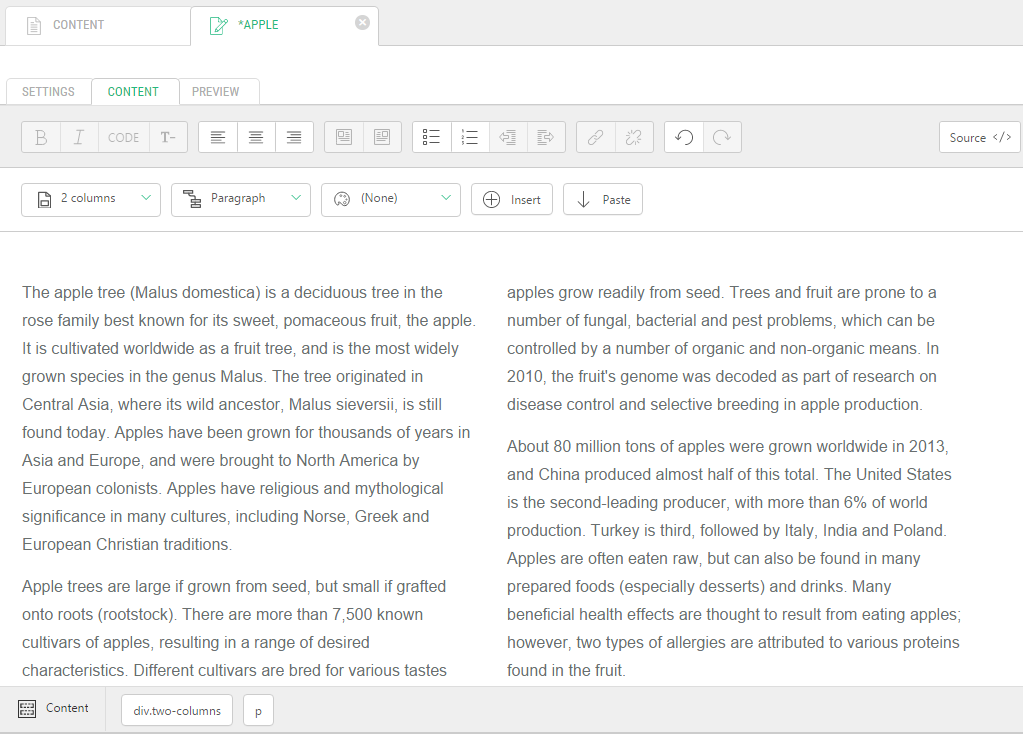
Figure 27: Content after applying a block style
The Style selector allows you to do the basic formatting on content by changing its HTML element type.
For example, you can easily turn a paragraph into a heading of the 1st, 2nd or 3rd level.
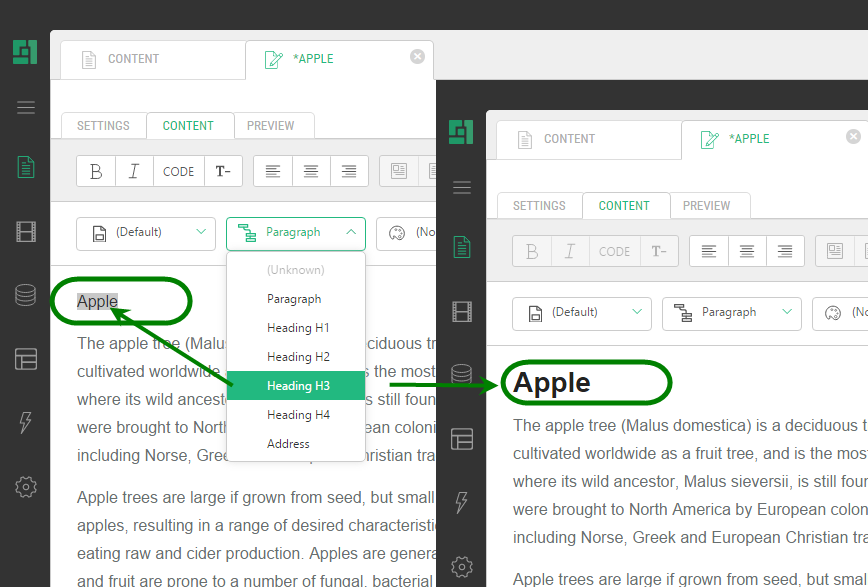
Figure 28: Turning a paragraph into a Level 2 heading
The HTML editor has a class selector which is a very useful and user-friendly feature for the end user. All paragraphs in a content area can be easily formatted with predefined CSS classes. A CSS class can control font attributes, links, images and many other attributes of a web page, reducing a page's file size. A consistent use of CSS can make it easier for you to build accessible sites, secure flexibility and helps you to ensure that the graphical design is consistent across the website.
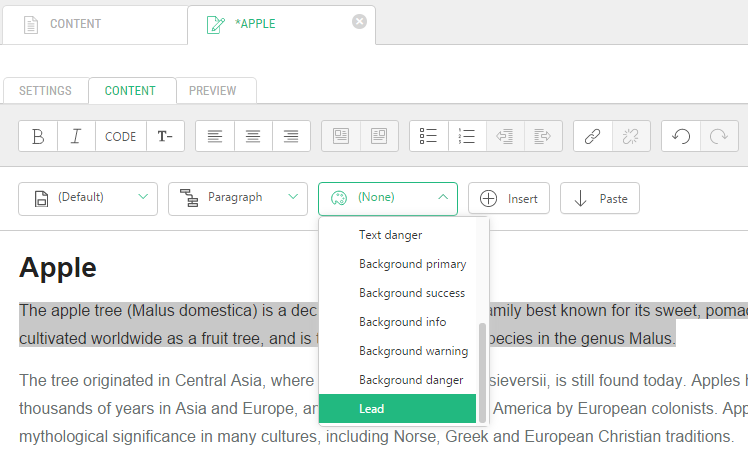
Figure 29: Selecting a style class
Example of different CSS styles
Example showing the same paragraph formatted with different CSS styles
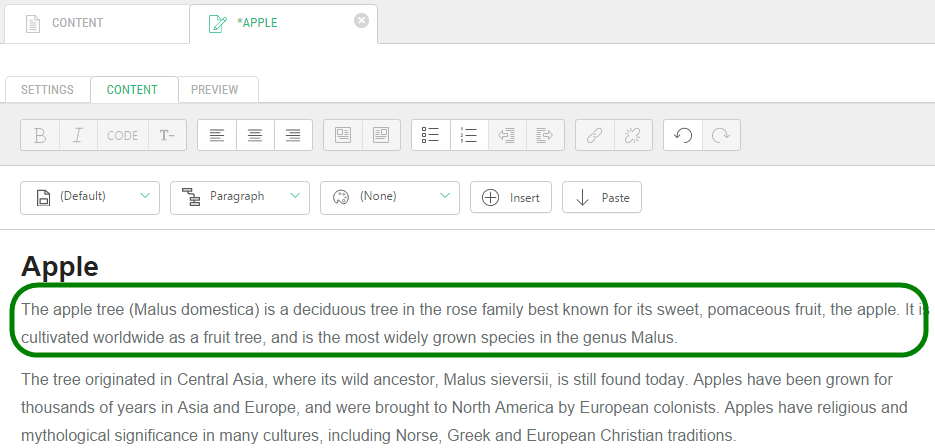
Figure 30: A paragraph with default formatting
The visual look of a paragraph can be changed completely depending on the used class.
Figure 31: A paragraph formatted with a different class
When you have inserted content on a page, you can open to the Preview tab and view how the page will look on the website. This can be done even though the page has not yet been published to the website.
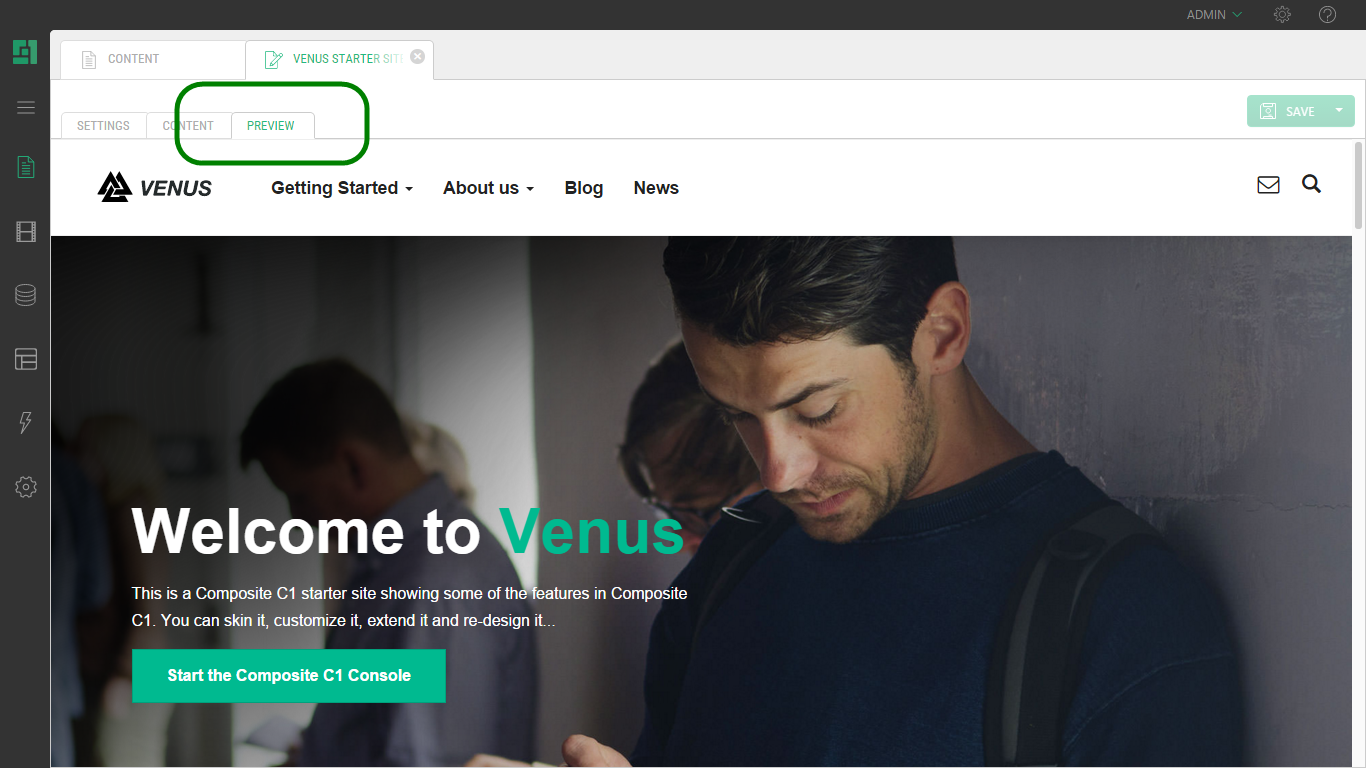
Figure 32: Preview tab
When you have created a page and feel satisfied with its content, you can publish the page to the website.
How to publish a page:
- Select the page you want to publish in the tree structure.
- Click Publish on the toolbar.
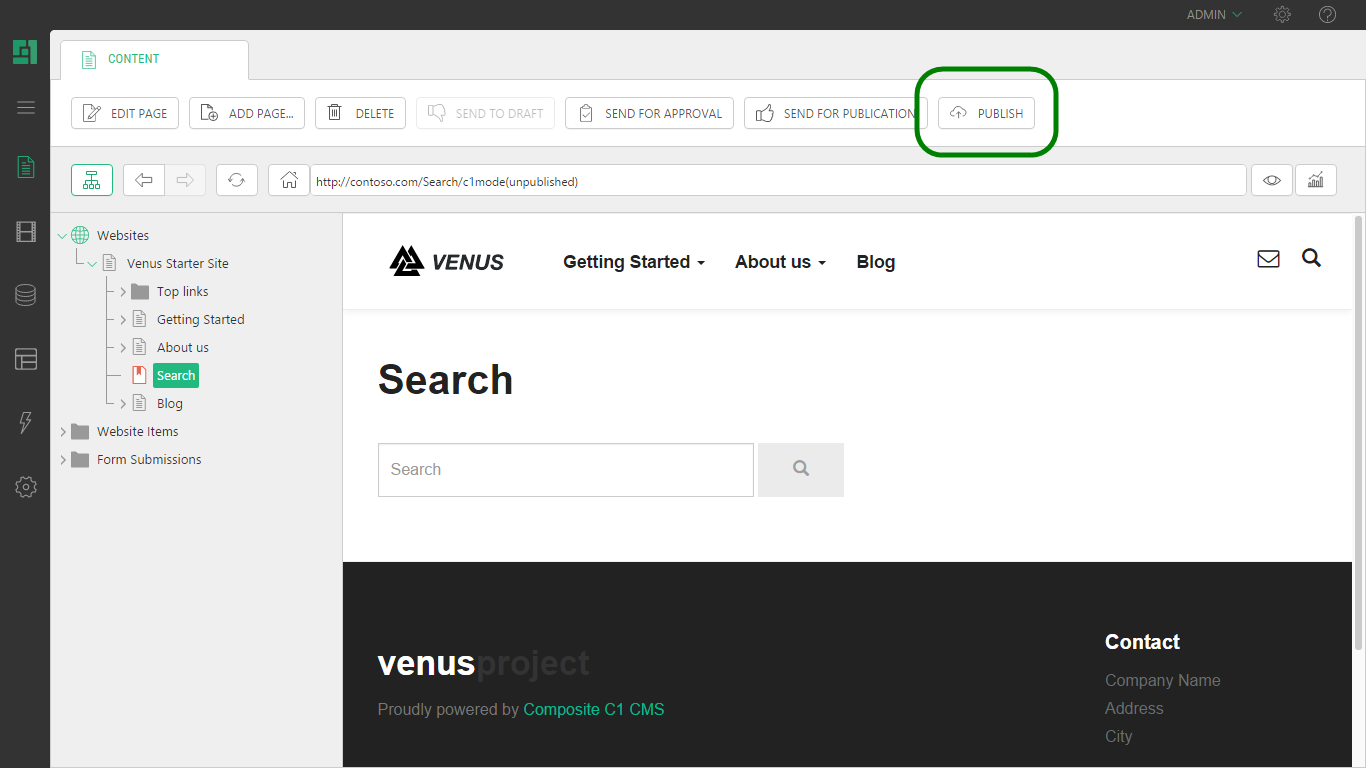
Figure 33: Publishing a page
Note: If you click Send For Publication, the page will be published after it is approved by the user with this permission.
How to unpublish a page
- Select the page you want to unpublish in the tree structure. The toolbar will now display a new menu command called Unpublish.
- Click Unpublish and the page will no longer be displayed on the website.

Figure 34: Unpublishing a page
If you have already created a page, you can easily move it. You can also move whole sections of pages.
How to move a page:
- Right click the page you want to move in the tree structure.
- Click Cut in the context menu.
Figure 35: Cutting a page
- Afterwards you should right click the page under which you want to move the page
- Click Paste in the context menu and click OK in the window that appears.
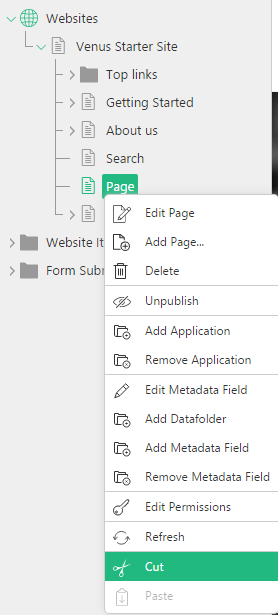
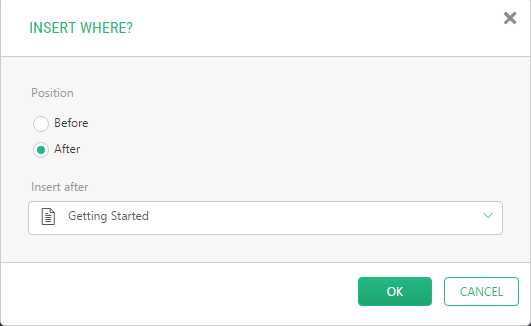
Figure 36: Pasting a page
You have now moved the page.
Both published and unpublished pages can be deleted. If a page has any subpages, a new dialog will appear. In this dialog you should confirm if you want to delete all subpages. Note that when you delete a page, it is not possible to restore the deleted page again.
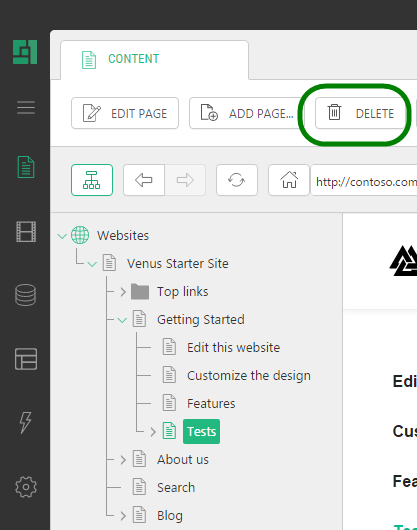
Figure 37: Deleting a page
- Log on to the administrative console with the username and password you have been handed out from your instructor.
- Select a page.
- Choose to edit the page and insert some text in the content area.
- Save the page.
- Create a page and call it "My page”.
- Insert the text “Text on my page” in the Content perspective.
- Save and publish the page.
- Edit the text and give the text the style “Heading 1”.
- Save and preview the page.