
Visual Functions
Using Visual Functions
The use of Visual functions on web pages is no different from that of any other CMS function.
To insert a Visual function on a page:
- Edit a page and place a cursor where you want the function to appear.
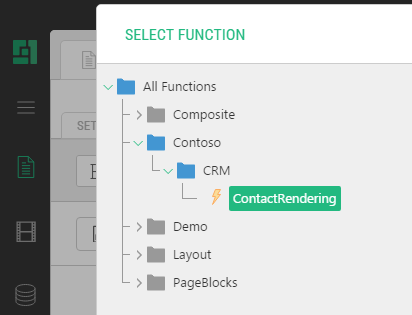
- On the Insert menu, click Function and in the Select Function window, expand the proper nodes and select the visual function.
Figure 6: Selecting a visual function
- Click OK.
- In the Function Properties window, change the default values in the parameters if needed.
Figure 7: Visual function parameters
- Click OK.

Every Visual function shows three parameters in the Basic view and four parameters – in the Advanced view, each with a default value. Normally, you can insert a Visual function with these defaults.
You can however change the default values of these parameters:
- List filter: The selection filter to apply to the data items to display (no filtering by default). (Available in the Advance view only.)
- Item list length: The number of data items to display (10 by default).
- Item sorting: The field by which the items must be sort. You can also use “(random)”for the value.
- Item sort order: The order of sorting items: ascending or descending (ascending by default).
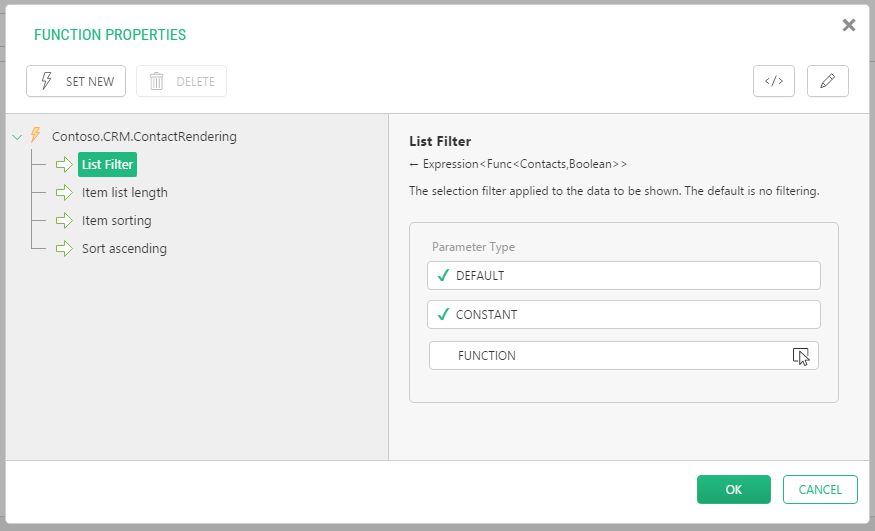
Figure 8: Visual function parameters (Advanced view)
You can set the default values for the last three parameters when editing the visual function and adjusting its settings.
As to the List filter parameter, no filtering is used by default, however, you can apply one or more filters to the data items of the rendered type by using ad-hoc filtering functions. For information on filtering functions, please refer to “Filtering Data”.